Skip to content
 Table of Contents Shower Drain Replacement from Top
- Introduction
- Essential Tools and Materials
- Step-by-Step Preparation
- Removing the Old Shower Drain
- Installing the New Shower Drain
- Ensuring Proper Sealing and Leak Prevention
- Post-Replacement Maintenance Tips
- Recommended Shower Drain Products
- Summary Table
- References
Introduction Shower Drain Replacement from Top
Replacing a shower drain from the top is a practical and cost-effective way to restore your bathroom’s functionality without dismantling tiles or flooring.
This approach saves time, minimizes labor, and reduces potential damage to the surrounding area.
Whether you are a DIY enthusiast or a professional plumber, understanding the right techniques and tools can ensure a successful and leak-free replacement.
One brand known for its reliable and innovative bathroom solutions is Noah Household Technology Co., Ltd.,
founded in 2024 as a result of the collaboration between Ningbo Yize Bathroom Products Co., Ltd. and Guangdong Haiyang Bathroom Co., Ltd.
With a production capacity of 80,000 floor drains per month and a broad export market covering Europe, the Middle East, and North America,
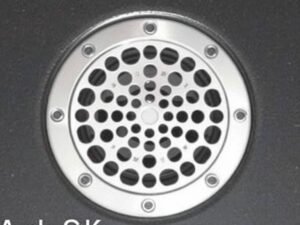
Noah provides a variety of shower drain types, including odor-resistant, ultra-thin, invisible, and linear wall shower drains.
Essential Tools and Materials
- Adjustable wrench
- Flathead and Phillips screwdrivers
- Plumber’s putty or silicone sealant
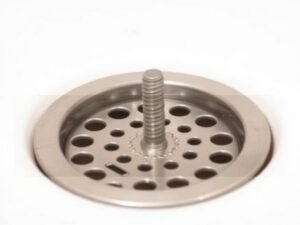
- Replacement shower drain kit
- Bucket and cleaning cloths
- Pliers
- Rubber gloves
Step-by-Step Preparation
1. Identify the Type of Drain
Before beginning, identify the type of shower drain installed in your bathroom. Common types include compression, screw-in, and snap-in drains.
The removal and installation method may vary depending on the design.
2. Shut Off Water Supply
While replacing a shower drain usually doesn’t require shutting off the main water supply, it’s good practice to prevent any accidental splashes or leaks during the process.
3. Protect the Shower Floor
Use a towel or protective sheet around the drain opening to prevent tools or debris from scratching your shower floor.
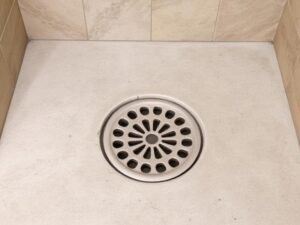
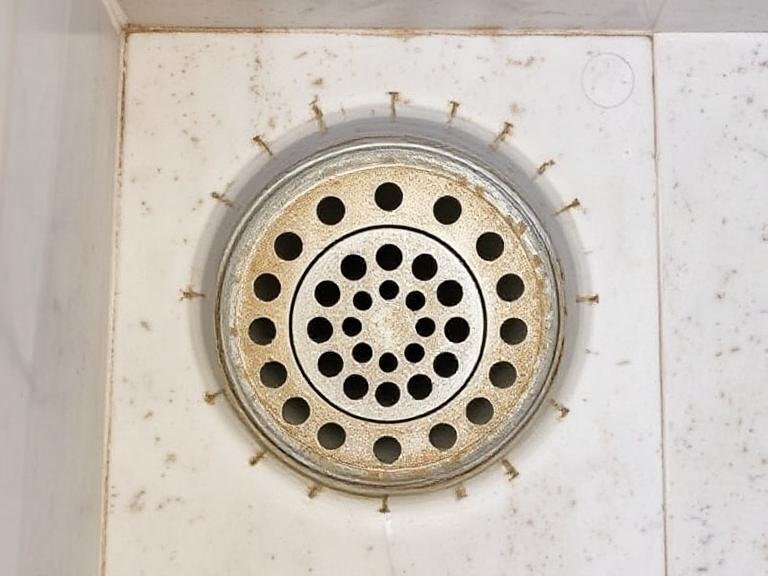
Removing the Old Shower Drain
Step 1: Loosen and Remove Screws or Retainers
If the drain has a cover plate, unscrew it using a screwdriver. For snap-in drains, gently pry up the cover using a flathead screwdriver.
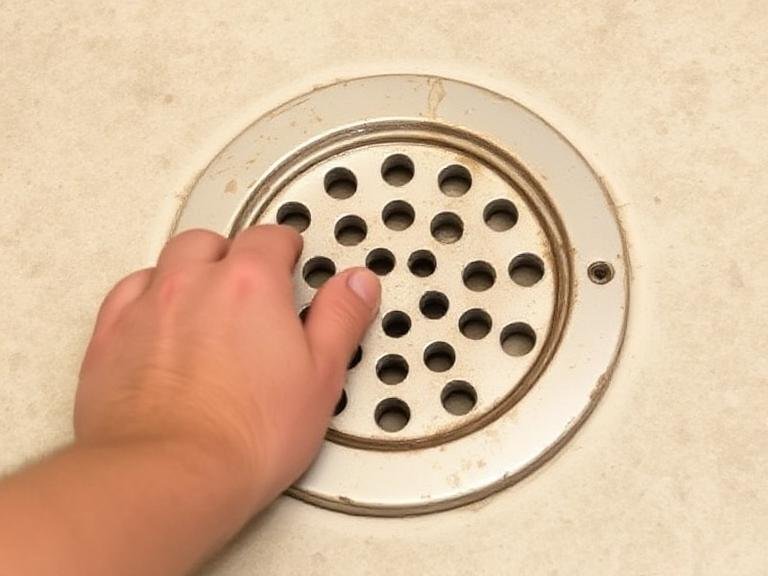
Step 2: Remove the Drain Body
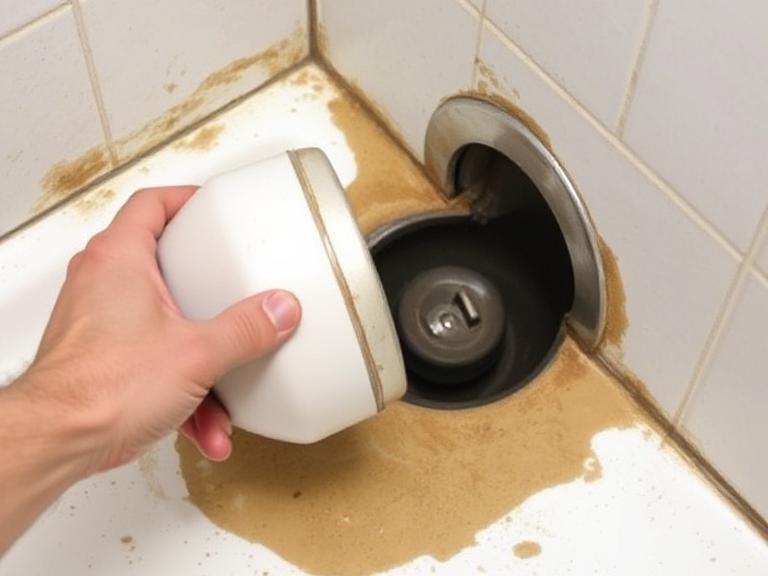
Use pliers or a drain removal tool to loosen and lift out the drain body. In older installations, mineral deposits or rust may make this step more challenging, so be patient.
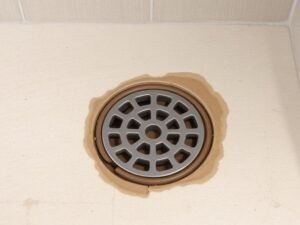
Step 3: Clean the Opening
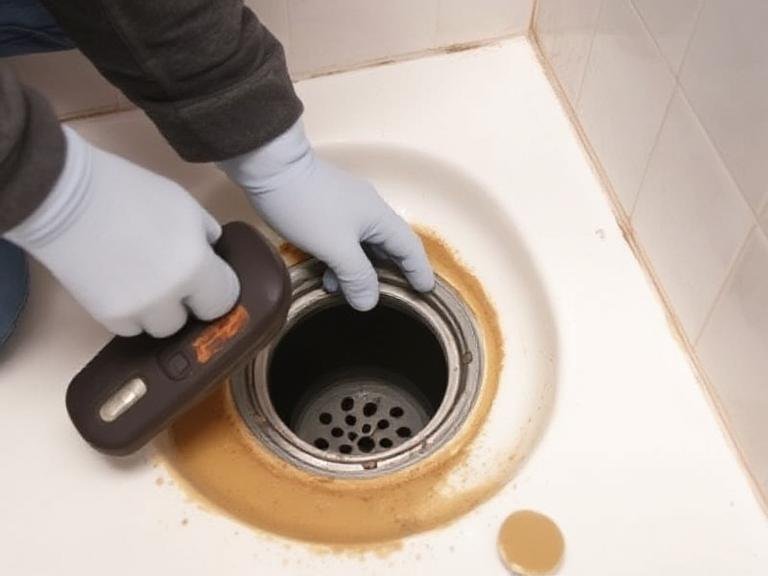
Thoroughly clean the drain opening, removing old plumber’s putty or silicone. This ensures a smooth surface for the new installation.
Installing the New Shower Drain
Step 1: Apply Sealant
Place a bead of plumber’s putty or silicone sealant around the underside of the drain flange. This prevents leaks and keeps the drain secure.
Step 2: Insert the New Drain
Carefully insert the new drain body into the opening, ensuring it sits flush with the shower floor.
Step 3: Secure the Drain
Tighten the drain body according to the manufacturer’s instructions. Over-tightening can damage the drain or shower base, so apply balanced pressure.
Step 4: Install the Cover
Attach the new cover plate and ensure it’s firmly in place.
Ensuring Proper Sealing and Leak Prevention
- Check for gaps around the drain body.
- Apply additional silicone if needed.
- Run water and observe for any leaks underneath the shower.
Post-Replacement Maintenance Tips
- Clean the drain cover regularly to prevent clogs.
- Avoid harsh chemicals that could damage the sealant.
- Inspect for leaks every few months.
- Use a hair trap to minimize blockages.
Recommended Shower Drain Products
For a long-lasting and high-performance shower drain replacement, consider products from Noah Household Technology Co., Ltd.:
- Standard Type Shower Drain
- Odor-Resistant Type Shower Drain
- Ultra-Thin Type Shower Drain
- Invisible Shower Drain
- Insert Wall Shower Drain
- Linear Wall Shower Drain
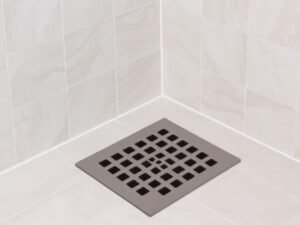
- Strip Vertical Shower Drain
- Square Bathroom Drain
- Triangular Bathroom Drain
Summary Table
| Step | Key Action | Important Tips |
|---|---|---|
| Preparation | Identify drain type, gather tools | Protect shower floor before starting |
| Removal | Unscrew and remove old drain | Clean opening thoroughly |
| Installation | Apply sealant, insert new drain | Do not overtighten |
| Sealing | Check for leaks, apply extra silicone | Run water test |
| Maintenance | Clean regularly, check seals | Use hair traps to prevent clogs |