When designing a modern bathroom, the drain is no longer just a functional necessity—it is a central design element. A custom shower drain installation provides a seamless, high-end look while ensuring superior water management. From ultra-thin linear profiles to invisible tile-insert options, the right drainage system elevates both the aesthetics and the longevity of your shower.
In this guide, we will walk through the professional process of installing a custom shower drain, featuring the innovative solutions from Noahhometech.
Professional 6-Step Custom Shower Drain Installation Guide
Table of Contents
- Understanding Custom Shower Drainage Systems
- Noahhometech: Bathroom Drainage Experts
- Step 1: Planning and Drain Selection
- Step 2: Preparing the Subfloor and Plumbing
- Step 3: Setting the Drain Body and Leveling
- Step 4: Creating the Sloped Mortar Bed
- Step 5: Waterproofing the System
- Step 6: Tiling and Final Grate Placement
- Installation Summary Table
- Frequently Asked Questions
- References
Understanding Custom Shower Drainage Systems
Modern architecture favors open-concept, curbless showers that require specialized drainage solutions. Unlike standard center drains that require a four-way slope (a funnel shape), a custom shower drain installation using linear or wall-mounted systems only requires a single-directional slope. This allows for the use of large-format tiles, creating a sleek, continuous floor surface that is both beautiful and easier to clean.
Noahhometech: Bathroom Drainage Experts

As a leading shower drain manufacturer, Noahhometech specializes in high-quality, visually striking drainage solutions for bathrooms, hotels, and commercial spaces. Their complete OEM and ODM services include ultra-thin linear drains, square drains, vertical drains, and fully customized shower systems, made from 304 stainless steel with durable PVD finishes.
With brand customization, rapid prototyping, and globally recognized certifications, they help clients stay competitive and deliver premium end-user experiences. From innovative design to precise installation, their products provide efficient, durable, and modern shower drainage solutions.
Core Products Include:
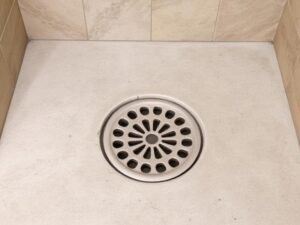
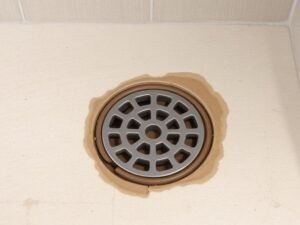
- Standard Type Shower Drain: Reliable and easy to clean for everyday use.
- Odor-Resistant Type Shower Drain: Built-in sealing system to prevent backflow and odors.
- Ultra-Thin Type Shower Drain: Minimalist design perfect for modern bathrooms.
- Invisible Shower Drain: Blends seamlessly with floor tiles for a clean, sleek look.
- Linear Wall and Strip Drains: Ideal for large showers and spa-like spaces.
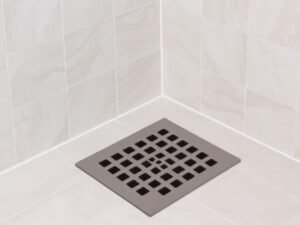
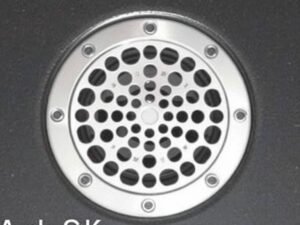
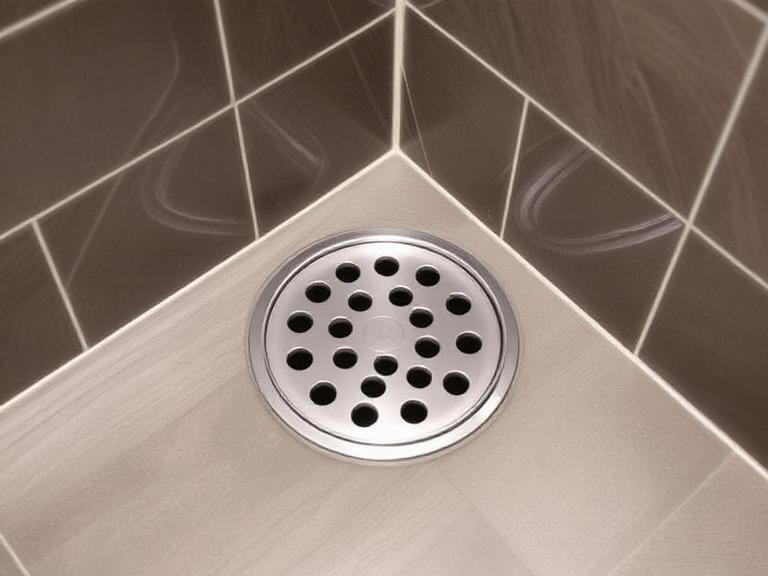
- Triangular and Square Bathroom Drains: Stylish solutions for corner installations
Step 1: Planning and Drain Selection
The first step in any custom shower drain installation is choosing the right model for your layout. You must decide between a point drain (center) or a linear drain (edge/wall). Linear drains, such as the Noahhometech Linear Wall Shower Drain, are ideal for large showers or curbless entries because they catch water across a wider span.
Consider the flow rate of your showerheads. High-flow rainfall systems may require multiple outlets or an ultra-thin type shower drain with high-capacity troughs. Measure the distance from the waste pipe to the desired drain location to ensure you have enough depth for the trap and the required slope.
Step 2: Preparing the Subfloor and Plumbing
Clean the work area thoroughly. For a successful custom shower drain installation, the subfloor must be structurally sound and meet TCNA standards. If you are installing a linear drain against a wall, ensure the wall studs are plumb. Locate the waste line and cut the PVC or ABS pipe to the correct height, allowing room for the drain body and the thickness of the floor layers (mortar, adhesive, and tile).
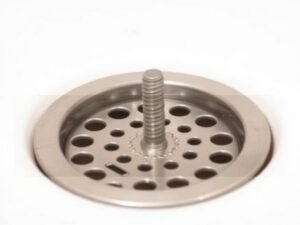
Step 3: Setting the Drain Body and Leveling
Place the drain body (such as a Noahhometech Square Bathroom Drain) and connect it to the waste pipe. Many custom drains come with height-adjustable legs. Use a spirit level to ensure the drain is perfectly horizontal. Even a slight tilt can lead to uneven water pooling in the trough. If you are using a solvent-weld connection, apply the appropriate primer and cement, holding the joint firmly until it sets.
Step 4: Creating the Sloped Mortar Bed
This is a critical phase of the custom shower drain installation. You must create a slope (pitch) toward the drain. The industry standard is a 2% gradient, which translates to roughly 1/4 inch of drop per linear foot. Use a pre-slope mortar mix and pack it tightly around the drain flange, ensuring there are no hollow spaces. For linear drains located at the wall, the entire floor will slope in one direction toward that wall.
Step 5: Waterproofing the System
Once the mortar has cured, apply your waterproofing membrane. You can use liquid-applied membranes or fabric sheets. Ensure the membrane overlaps the drain flange. For high-performance systems like the Noahhometech Invisible Shower Drain, waterproofing is paramount to prevent moisture from reaching the subfloor. Perform a flood test by plugging the drain and filling the shower base with water for 24 hours to verify there are no leaks.
Step 6: Tiling and Final Grate Placement
Lay your tiles, starting from the drain and moving outward. For an Invisible Shower Drain, you will insert a piece of the matching floor tile into the drain tray, making the drainage point nearly disappear. Leave a 5mm gap between the tile and the drain edge for an elastic sealant joint. Once the adhesive and grout have dried, place the decorative grate—whether it is a PVD-finished stainless steel strip or a triangular bathroom drain cover—and adjust the height to be flush with the tile surface.
Installation Summary Table
| Feature | Linear/Wall Drain | Square/Point Drain |
|---|---|---|
| Slope Requirement | Single-direction (1-way) | Multi-direction (4-way funnel) |
| Best Tile Choice | Large format or planks | Small mosaic or 2×2 tiles |
| Installation Depth | Variable (Low profile available) | Standard depth |
| Visual Impact | Modern, seamless, “invisible” | Traditional, centered |
| Recommended Brand | Noahhometech Linear Series | Noahhometech Square Series |
Frequently Asked Questions
Can I install a linear drain in an existing bathroom?
Yes, but it often requires modifying the subfloor or raising the floor level to accommodate the slope and the drain trough. Using a low-profile Ultra-Thin Type shower drain can make this process easier in renovations.
Is 304 stainless steel better than plastic for drains?
Absolutely. 304 stainless steel, as used in Noahhometech products, offers superior corrosion resistance, durability under heavy loads, and a much more premium finish than standard plastic drains.
How do I clean an invisible tile-insert drain?
Most custom drains include a lifting key. Simply lift the tile-insert tray to access the debris basket underneath. Regular cleaning prevents hair and soap scum from slowing down the drainage.