Table of Contents
- Introduction: Why Proper Shower Drain Installation Matters
- Tools and Materials You’ll Need
- Step 1: Preparing the Shower Area
- Step 2: Choosing and Positioning the Right Shower Drain
- Step 3: Installing the Shower Drain
- Step 4: Sealing, Testing, and Finishing
- Common Types of Shower Drains
- Noahhometech — Bathroom Drainage Experts
- Summary Table: Key Installation Takeaways
- FAQs
- References
Introduction: Why Proper Shower Drain Installation Matters
A shower drain may look like a small bathroom component, but it plays a crucial role in water management, hygiene, and long-term durability of your bathroom. An improperly installed shower drain can lead to leakage, mold growth, bad odor, and floor damage.
Whether you’re designing a modern bathroom with invisible drains or installing a classic floor drain, correct installation ensures efficient water flow and a clean, odor-free environment.
Tools and Materials You’ll Need
- Shower drain (linear, square, or wall type)
- Measuring tape and marker
- Level and trowel
- PVC or stainless steel pipes
- Waterproof membrane or sealant
- Cement and sand for bedding
- Silicone sealant and adhesive
- Screwdriver or wrench set
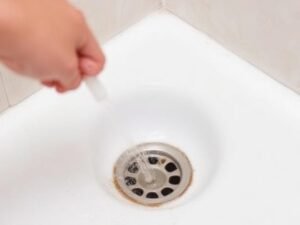
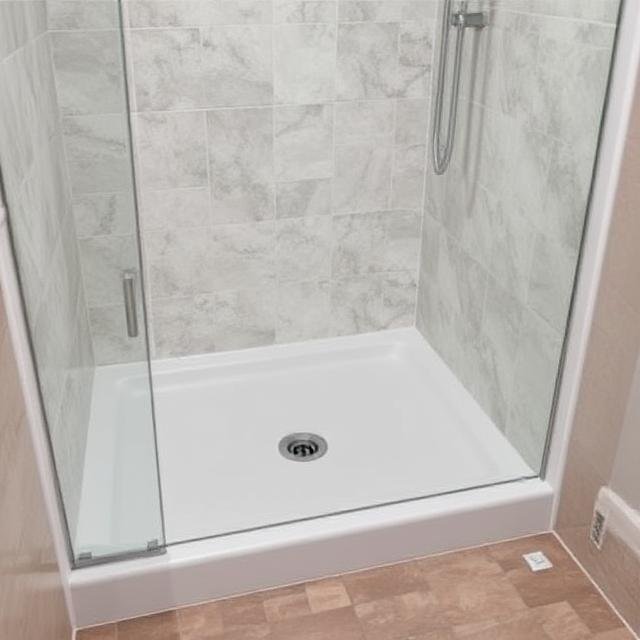
Step 1: Preparing the Shower Area
Start by clearing and cleaning the shower area. Ensure the subfloor or base is level and firm. Next, mark the location of the drain outlet relative to your shower design.
Subfloor Preparation
- Clean all debris and ensure the surface is free from dust or oil.
- Apply a primer or waterproof membrane for better protection.
- Mark the exact slope (1–2%) toward the drain for efficient drainage.
Drain Positioning
Decide the placement: center, wall side, or corner. Modern bathrooms often prefer linear wall drains for a minimalist look and improved accessibility.
Step 2: Choosing and Positioning the Right Shower Drain
Choosing the right drain design depends on both function and aesthetics. Here’s a quick overview:
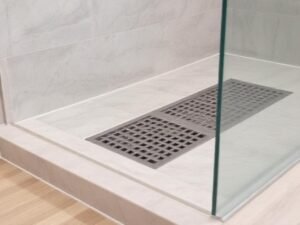
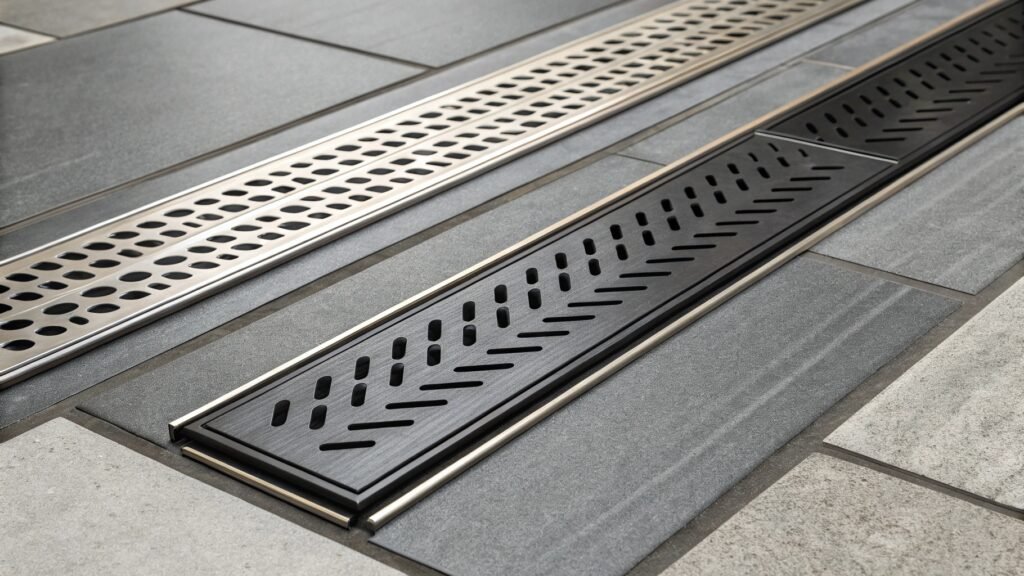
- Linear shower drains: Ideal for large or modern bathrooms with a sleek, seamless finish.
- Square drains: Best for compact showers or central placement.
- Wall drains: Great for barrier-free showers and easy cleaning.
- Odor-resistant types: Perfect for humid environments where hygiene is a priority.
For accurate installation, ensure the drain’s outlet aligns with the existing plumbing and fits tightly with the P-trap system.
Step 3: Installing the Shower Drain
1. Connect the Drain Body
Attach the drain body to the pipe system using a PVC or stainless-steel connector. Use proper sealant around the joints to prevent leaks.
2. Secure the Drain in Place
Use mortar or tile adhesive to hold the drain securely. Maintain the correct slope of 1–2% toward the drain to ensure smooth water flow.
3. Apply Waterproofing Layer
Apply waterproofing membrane around the drain flange. This is critical to preventing water seepage into the subfloor.
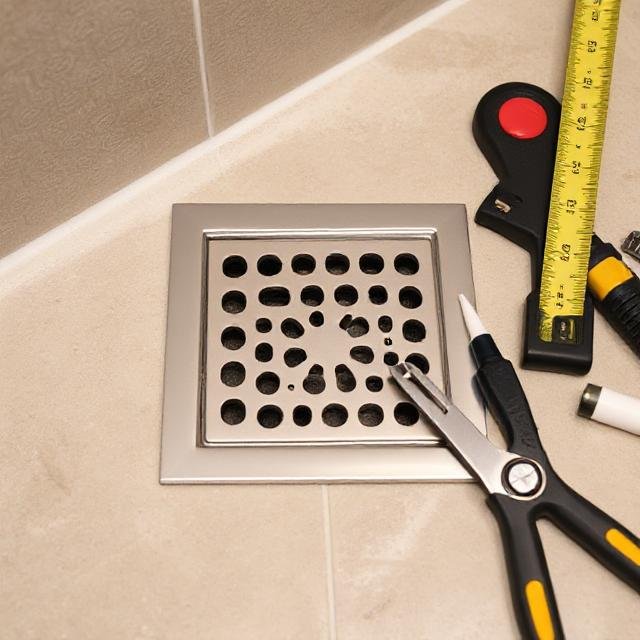
4. Install Tiles and Drain Cover
- Lay tiles carefully around the drain, leaving expansion gaps.
- Use silicone sealant around edges to create a watertight seal.
- Finally, attach the grate or cover plate and test for fit.
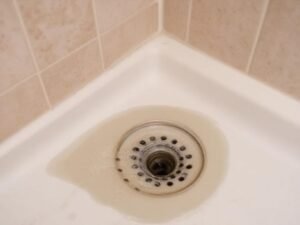
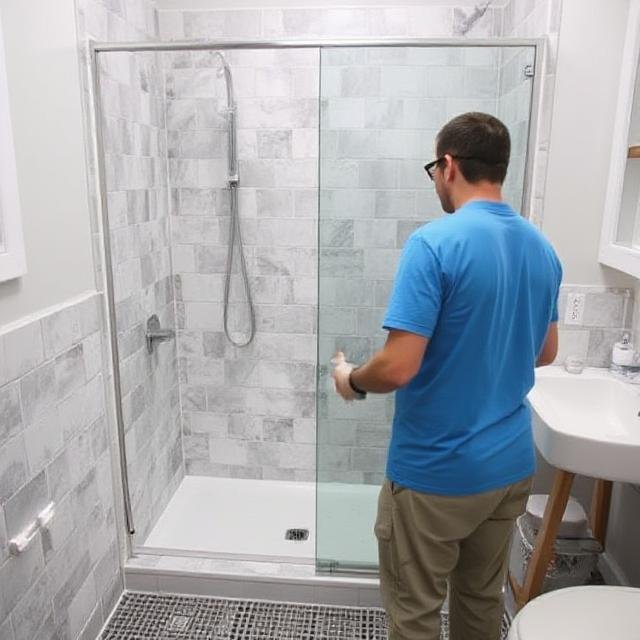
Step 4: Sealing, Testing, and Finishing
Once installed, perform a water test by pouring a small amount of water around the drain. Observe flow speed and ensure there are no leaks.
- Seal joints with waterproof silicone.
- Allow 24 hours for sealant curing before full use.
- Clean and polish the drain cover for a professional finish.
Common Types of Shower Drains
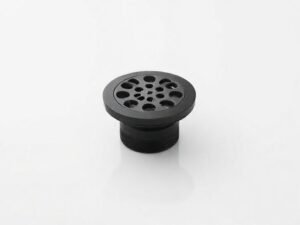
- Standard Type Shower Drain: Simple design, easy installation, cost-effective.
- Odor-Resistant Type: Built with anti-siphon technology for fresh bathrooms.
- Ultra-Thin Type: Minimalist profile ideal for contemporary bathrooms.
- Invisible Shower Drain: Tile-in cover for a seamless floor look.
- Insert Wall Shower Drain: Hidden in walls, perfect for space-saving designs.
- Linear Wall Shower Drain: Offers high flow rate and stylish appearance.
- Strip Vertical Shower Drain: Compact and suitable for small spaces.
- Square or Triangular Bathroom Drain: Fits corner installations and aesthetic preferences.
Noahhometech — Bathroom Drainage Experts

Noahhometech is a leading manufacturer of high-quality bathroom drainage systems, specializing in both residential and commercial applications. With years of industry expertise, they offer innovative solutions that blend form and function seamlessly.
Their range includes:
All Noahhometech products are made from 304 stainless steel with durable PVD finishes, ensuring longevity, corrosion resistance, and elegant design. The company provides full OEM & ODM customization services, catering to hotels, architects, and luxury bathroom projects worldwide.
Summary Table: Key Installation Takeaways
| Step | Description | Key Tip |
|---|---|---|
| Preparation | Level surface, apply waterproofing membrane | Ensure slope toward drain (1–2%) |
| Positioning | Align drain with outlet and shower layout | Use laser level for accuracy |
| Installation | Connect drain body and secure with mortar | Seal joints with PVC glue and silicone |
| Finishing | Apply tiles, seal, and test for leaks | Let sealant cure for 24 hours |
FAQs
1. What slope is ideal for a shower floor?
A slope of 1–2% (1/4 inch per foot) ensures efficient drainage without standing water.
2. Should the drain be flush with tiles?
Yes, the drain grate should sit flush with the tile surface for aesthetics and safety.
3. Can I install a linear drain in an existing shower?
Yes, but it requires modifying the slope and possibly rerouting pipes. Consult a professional for retrofitting.
4. How do I prevent shower drain odor?
Use odor-resistant drains like those from Noahhometech, with built-in traps and anti-siphon systems.
5. What materials are best for drains?
304 stainless steel with PVD finish offers the best durability, rust resistance, and appearance.