Opening Paragraph
Installing ultra-thin shower drains in renovation settings demands precision to protect waterproofing layers and ensure proper drainage, especially given the tight floor height restrictions common in European buildings.
Snippet Paragraph
Key installation steps include careful site preparation, waterproofing integration, height adjustment, and slope creation, all of which impact drain longevity and performance.
Transition Paragraph
Below is a detailed, stepwise guide to help installers achieve successful ultra-thin drain installation in renovation projects.
Step 1: Prepare the Subfloor and Mark Drain Position
Ensure the subfloor is clean and level. Mark the drain location precisely according to the tile layout.
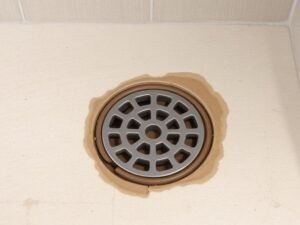
Step 2: Apply Waterproofing Membranes
Extend waterproofing at least 50mm beyond the drain flange and seal edges thoroughly.
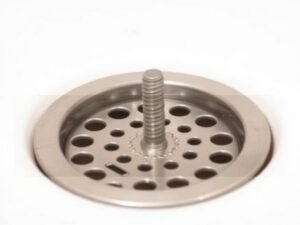
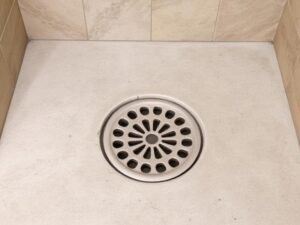
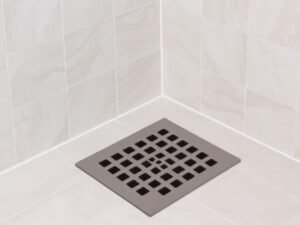
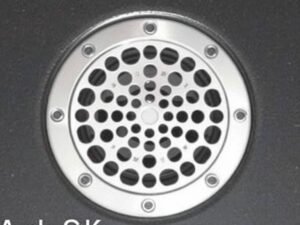
Step 3: Install Drain Channel and Secure Grate
Position the drain flush with the finished floor, adjusting brackets if available to maintain level installation.
Fully bonding membranes to the drain flange is essential for a watertight seal.
Step 4: Verify Floor Slope
Maintain a slope of 1–2% away from the drain to prevent pooling.
Step 5: Common Mistakes to Avoid
Avoid gaps in waterproofing, improper slope, and unstable grates that cause standing water.
Conclusion
Proper adherence to installation protocols ensures ultra-thin drains perform reliably and meet warranty requirements.