Opening Paragraph
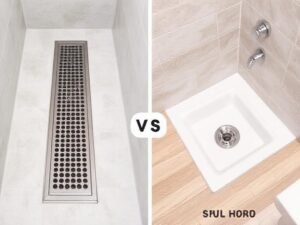
Installing a new shower drain isn’t just about stopping water—it’s about stopping smells too. With NOAH’s odor-resistant shower drain technology, homeowners and professionals can ensure fresh bathrooms and long-lasting performance with every installation.
Snippet Paragraph
Learn how to install a NOAH odor-resistant drain correctly for maximum performance and zero smells, with step-by-step instructions.
Transition Paragraph
Whether you’re replacing a faulty drain or building a new shower system, this guide will walk you through each stage—from prep to testing.
Even the best drain fails if not sealed and positioned correctly.
1. What Tools and Materials Do You Need?
Snippet: Gather the right tools before starting to ensure a smooth installation process.

Dive Deeper
- Screwdriver, wrench, putty knife
- Silicone sealant, plumber’s putty
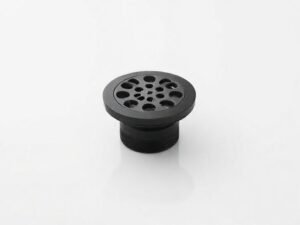
- NOAH odor-resistant drain kit (includes base, valve, cover)
- Towel or sponge for cleanup
No extra plumbing or modification required—just drop, seal, and secure.
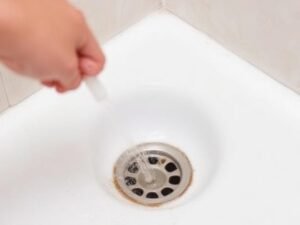
2. How to Remove the Old Drain Safely?
Snippet: Proper removal avoids pipe damage and ensures a clean base for your new drain.

Dive Deeper
- Turn off water supply if necessary
- Remove screws and pry off old cover
- Use putty knife to lift and clean old sealant
- Wipe and inspect pipe threads
Outdated parts can compromise the new drain’s seal integrity.
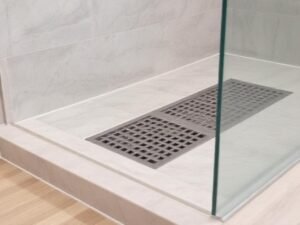
3. What Are the Key Steps to Install the New Odor-Resistant Drain?
Snippet: Installing a NOAH drain is straightforward with proper alignment, sealing, and locking.

Dive Deeper
- Apply plumber’s putty around base flange
- Insert NOAH drain, aligning with the outlet
- Tighten locking ring or secure bolts
- Place silicone valve into core (included)
- Attach cover plate and test for fit
You’ll never need to replace batteries or worry about false closures.
Compatible with US and EU plumbing codes.
4. How to Test and Seal for Odor-Proof Results?
Snippet: A final water and odor test ensures everything is sealed tight and ready for use.

Dive Deeper
- Run water to check for leakage or backflow
- Apply silicone sealant around edge as secondary protection
- Confirm valve closes and opens correctly
- Optional: use odor tracer spray to check seal
| Test Type | Expected Result |
|---|---|
| Water Leak | None |
| Odor Emission | None, even after dry hours |
| Valve Movement | Smooth open/close on flow |
Adding exterior sealant prevents seepage from surface runoff.
Conclusion
Installing an odor-resistant drain doesn’t have to be complicated. With NOAH’s plug-and-seal system, you can achieve professional-grade results with minimal tools and no odor worries. Follow the guide once, and enjoy years of clean, fresh bathrooms.
External Links Recommendation
References & Footnotes
- NOAH Installation Manual, Rev. 2024
- Customer Installation Surveys, Q1-Q2 2024
- Plumbing Code Handbook (IAPMO Standard 2023)
Abbreviations
- ABS – Acrylonitrile Butadiene Styrene
- VOC – Volatile Organic Compounds
- IAPMO – International Association of Plumbing and Mechanical Officials